Blogs, Radiator Buying Guides

How to Prepare Your Radiators for Winter: A 7-Step UK Checklist

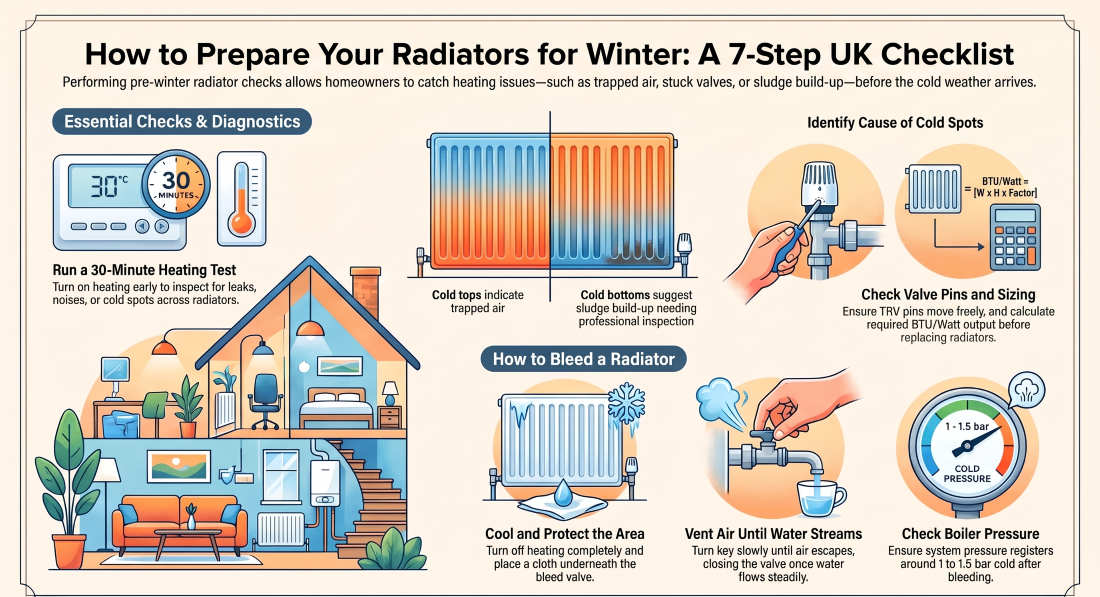
Prepare radiators for winter UK checklist

As autumn sets in and temperatures start to drop, the last thing you want is to switch the heating on and discover that one radiator stays cold, another has a cold patch, or a room never seems to get properly warm.
Preparing your radiators for winter gives you a chance to spot these problems before you need the heating every day. Issues such as trapped air, a faulty radiator valve, poor circulation, or a radiator that is not large enough for the room can all affect how your heating system performs.
Before the colder weather arrives, take some time to work through these seven checks around your home.

Testing radiators before winter for heating problems

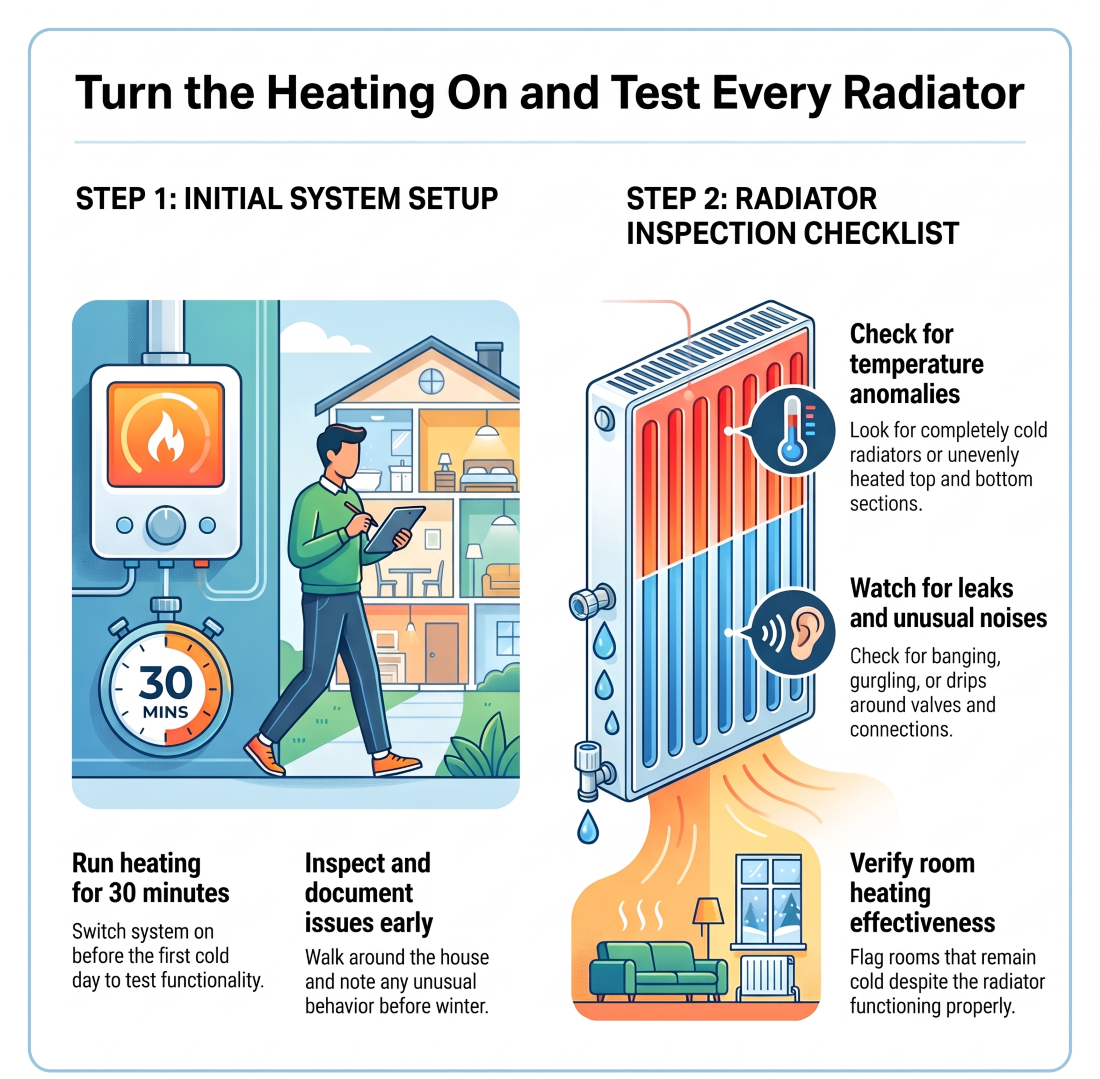
Turn the Heating On and Test Every Radiator

If your heating has been switched off for much of the summer, turn it on and allow the system to run for around 30 minutes.

You do not need to wait for the first really cold day to find out whether your radiators are working properly.

Walk around the house and check each radiator for:

  • A radiator that remains completely cold
  • Cold or unusually cool areas
  • A cold top section
  • A cold bottom section
  • Banging, gurgling or unusual noises
  • Drips or dampness around valves and connections
  • A room that remains cold even though the radiator is heating

Make a quick note of anything unusual. It is much easier to investigate a heating problem before winter is fully underway.

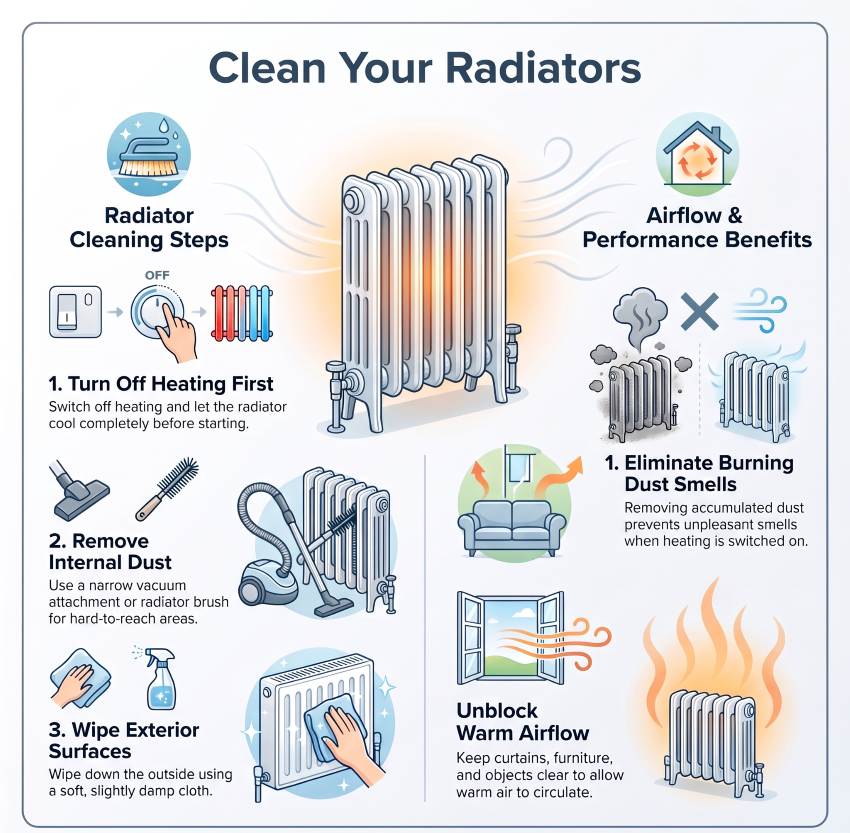
Clean Your Radiators

Radiators can collect a surprising amount of dust during the warmer months. This is particularly noticeable around column radiators and between the sections of some radiator designs.

Before cleaning, switch the heating off and allow the radiator to cool completely.

Use a vacuum cleaner with a narrow attachment or a suitable radiator brush to remove dust from difficult-to-reach areas. You can then wipe the outside with a soft, slightly damp cloth.

Cleaning your radiator does not increase its stated heat output, but removing accumulated dust can help keep the radiator clean and reduce that dusty smell when the heating is first switched on.

It is also worth checking the area around the radiator. Curtains, furniture and other objects should not unnecessarily restrict the movement of warm air.

Cleaning dust from a radiator before winter
Checking thermostatic radiator valves before winter

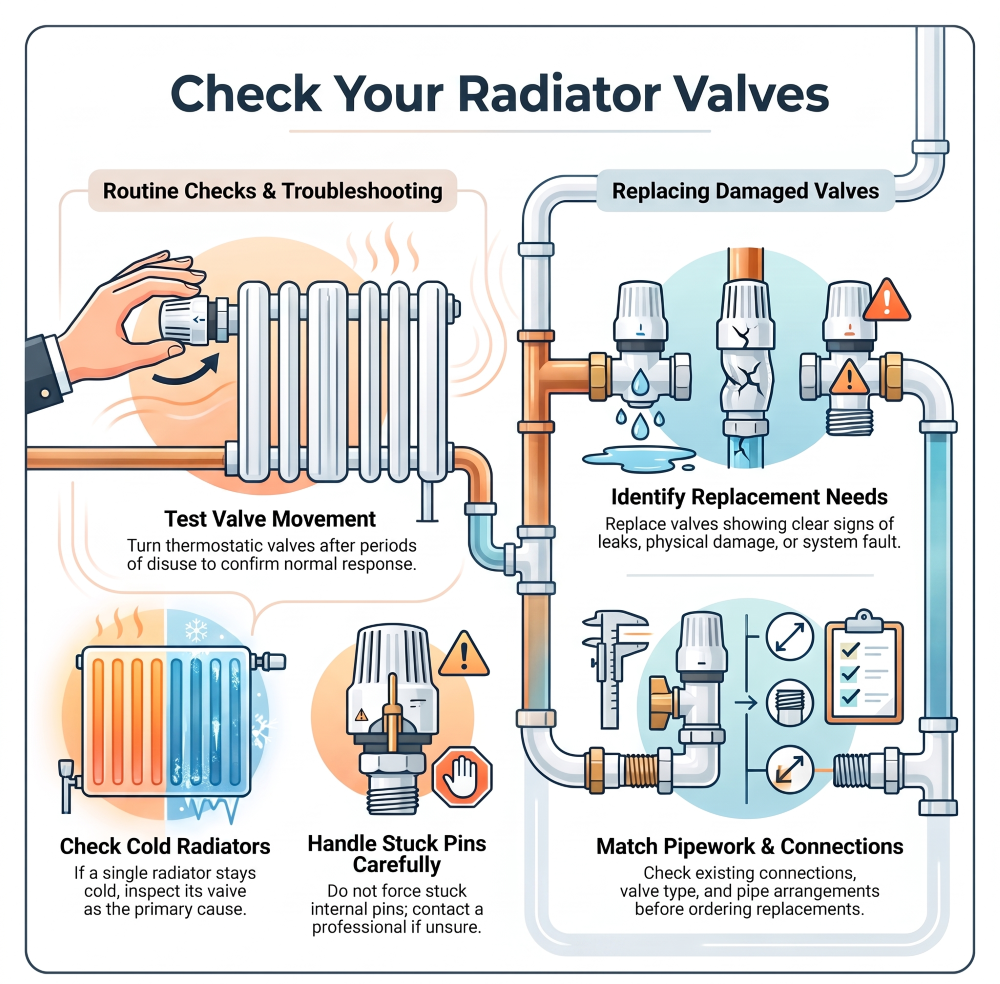
Check Your Radiator Valves

Radiator valves can sometimes cause problems after being left unused for several months.

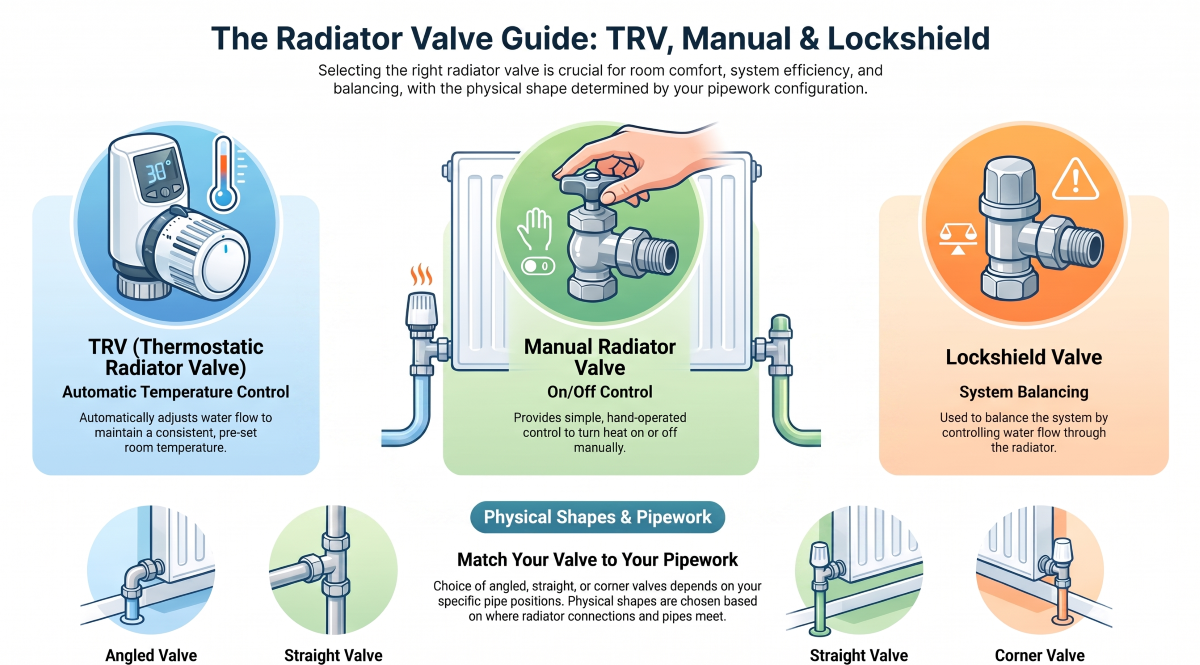
Turn your thermostatic radiator valves (TRVs) and check that they move normally. If you adjust the setting, the radiator should respond as the heating system operates.

If one radiator stays cold while the others are heating normally, the valve is one of the things worth checking.

Some thermostatic radiator valves contain a small pin underneath the valve head. If you suspect the pin is stuck, avoid forcing it or applying excessive pressure. If you are unsure what you are looking at, ask a qualified heating professional to check it.

A leaking, damaged or faulty valve may need replacing. Before ordering a replacement, check the existing connection, valve type and pipework arrangement.

If you need new radiator valves, make sure the valve type matches the way your pipework connects to the radiator.

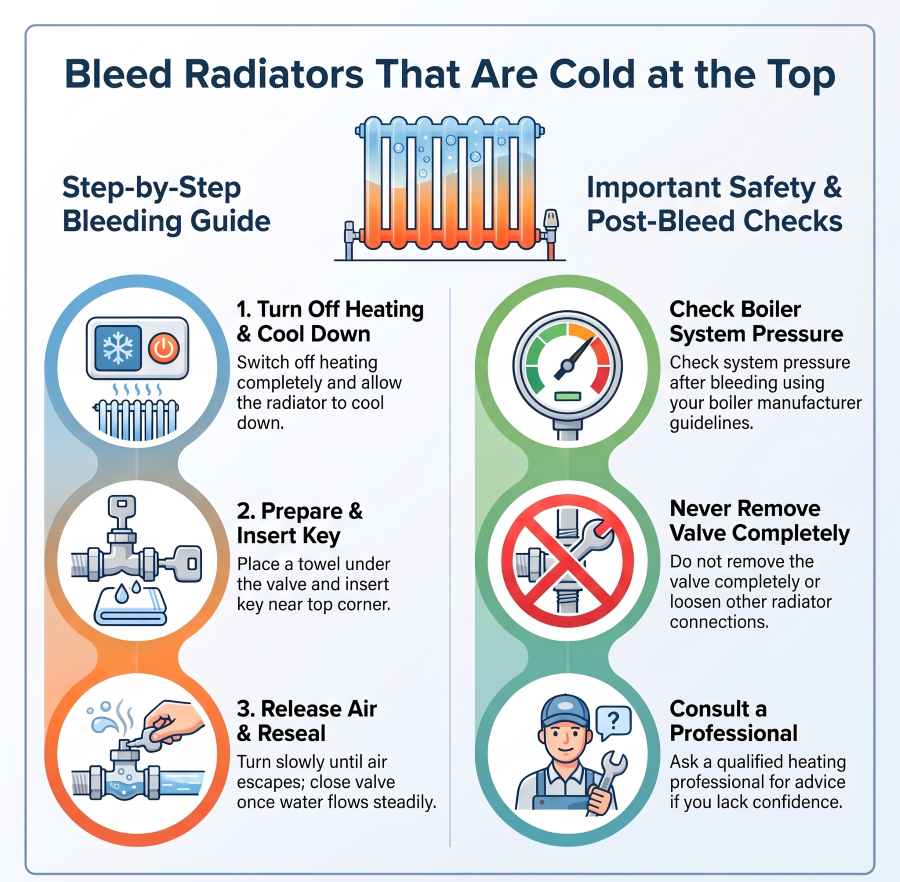
Bleed Radiators That Are Cold at the Top

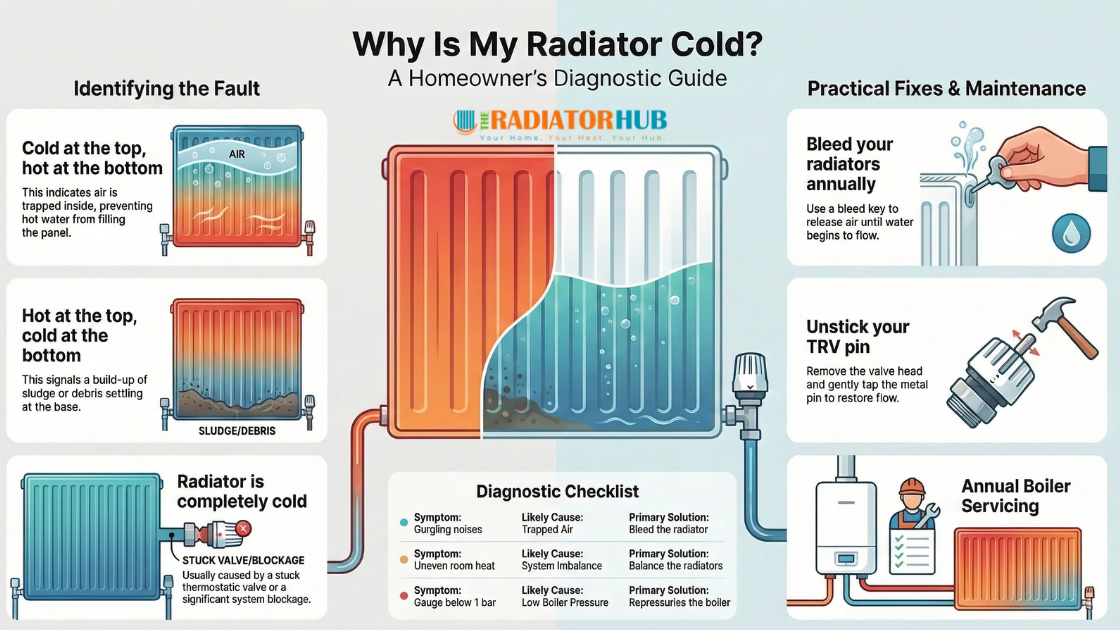
One of the most common signs of trapped air is a radiator that feels cooler at the top while the lower part is warmer.

If this happens, the radiator may need bleeding.

How to bleed a radiator

  1. Switch the heating off and allow the radiator to cool.
  2. Place a cloth or small towel underneath the bleed valve.
  3. Insert a radiator key into the bleed valve, usually located near the top corner of the radiator.
  4. Turn the key slowly until you hear air escaping.
  5. Once water begins to come out steadily, close the valve.

Do not remove the bleed valve completely or loosen other radiator connections.

After bleeding, check your heating system pressure if you have a sealed system. The correct pressure varies between systems, so use your boiler manufacturer’s instructions as your guide.

If you are not confident bleeding the radiator yourself, see this step-by-step guide to bleeding a radiator or ask a heating professional for advice.

How to bleed a radiator that is cold at the top
Checking boiler pressure before winter

Check Your Boiler Pressure

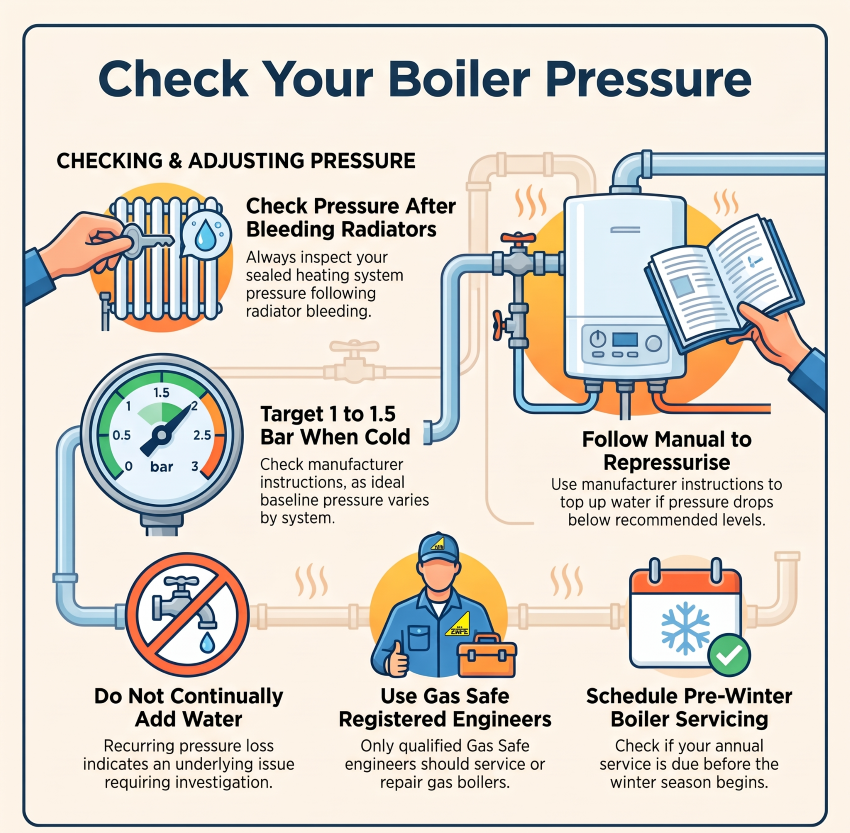
If you have a sealed central heating system, check the boiler pressure after bleeding any radiators.

Many domestic systems show a pressure of around 1 to 1.5 bar when cold, but the correct pressure depends on the individual heating system and boiler. Always check the manufacturer’s instructions.

If the pressure is lower than recommended, your boiler instructions should explain how to repressurise the system.

However, do not keep adding water if the pressure repeatedly drops. A recurring pressure loss can indicate an underlying problem that needs investigation.

If you have a gas boiler that requires servicing or repair, use a Gas Safe registered engineer for work on the gas appliance.

It is also worth checking whether your annual boiler service is due before winter.

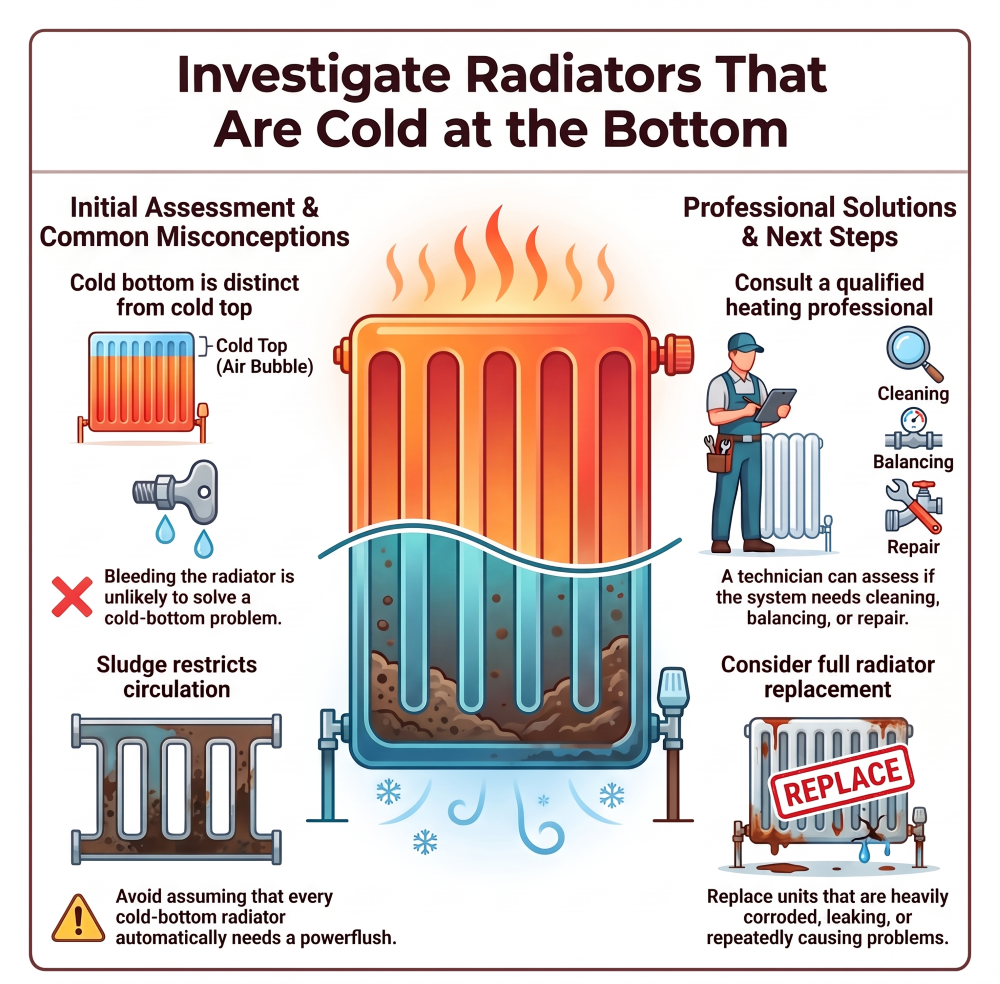
Investigate Radiators That Are Cold at the Bottom

A radiator that is hot at the top but cold towards the bottom is different from one that is cold at the top.

Bleeding the radiator is unlikely to solve a cold-bottom problem.

A build-up of sludge or debris can sometimes restrict circulation through a radiator, but there can be other causes too. Avoid assuming that every cold-bottom radiator automatically needs a powerflush.

If the problem continues, a qualified heating professional can assess the system and determine whether it needs cleaning, balancing, repair or another solution.

If a radiator is heavily corroded, leaking or repeatedly causing problems, replacement may also be worth considering.

Radiator cold at the bottom due to possible sludge
Choosing the right radiator size and heat output for a room

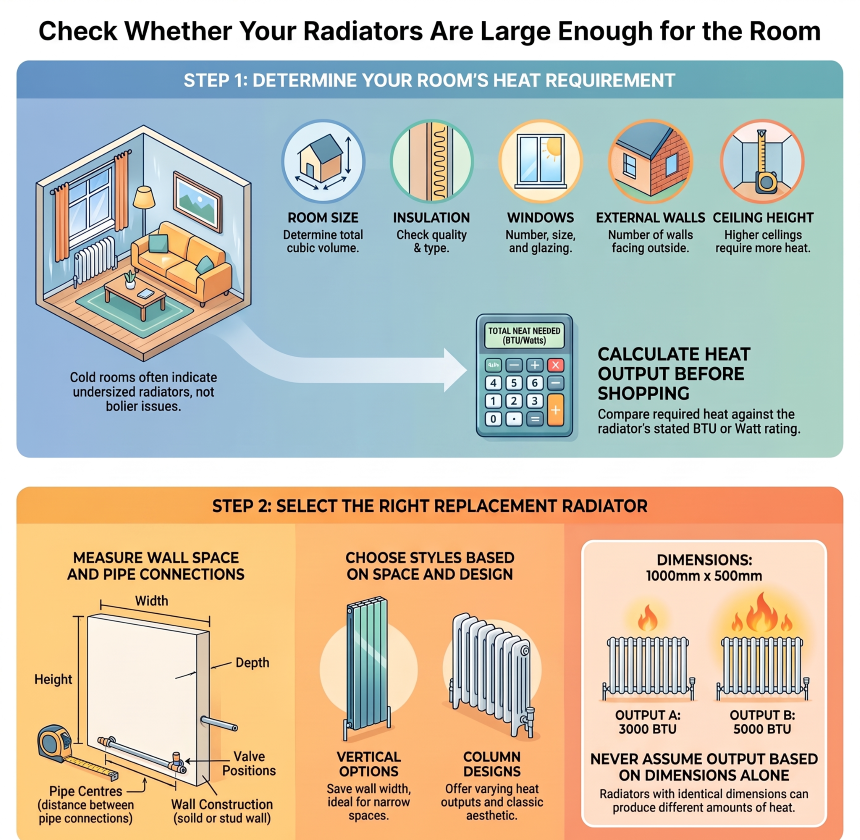
Check Whether Your Radiators Are Large Enough for the Room

Think back to last winter.

Was there a room that always felt colder than the rest of the house? Did you regularly need an extra layer even when the heating was running?

The boiler is not necessarily the problem. In some cases, the radiator simply does not provide enough heat output for the room.

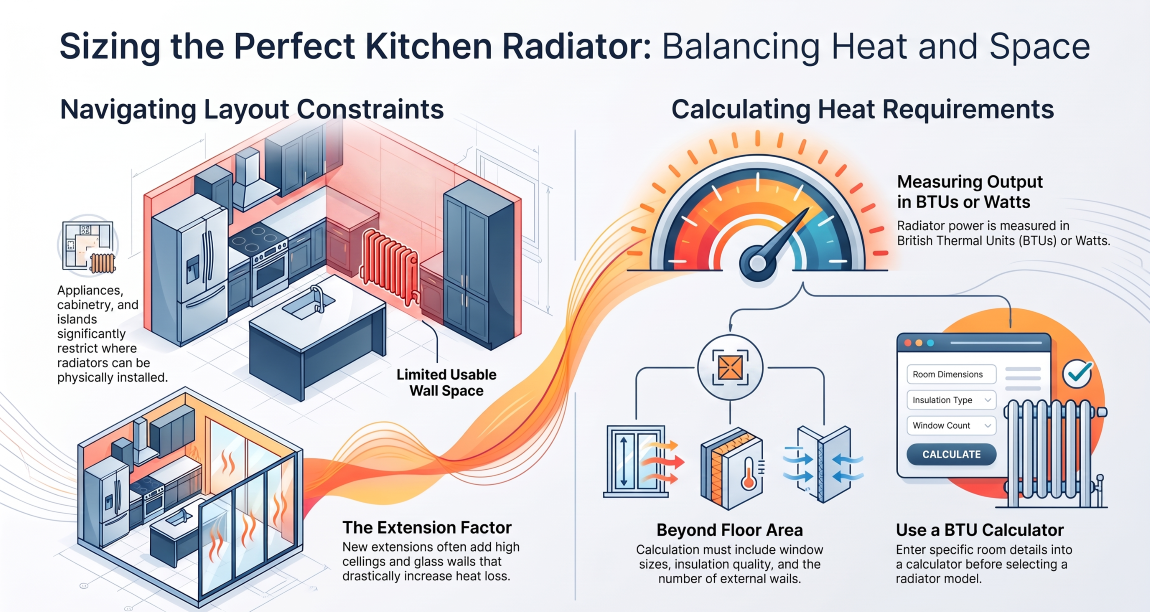
Room size, insulation, windows, external walls, and ceiling height can all affect the amount of heat required.

Before replacing a radiator, calculate the approximate heat requirement and compare it with the radiator’s stated BTU or Watt output. Read our guide on how to choose the perfect radiator size for any room before choosing the radiator’s size and style.

Choosing a replacement radiator

Once you know the required heat output, consider:

  • Available wall space
  • Radiator height and width
  • Radiator depth
  • Pipe centres
  • Wall-to-pipe measurements
  • Valve position
  • Wall construction
  • The radiator’s stated BTU/Watt output

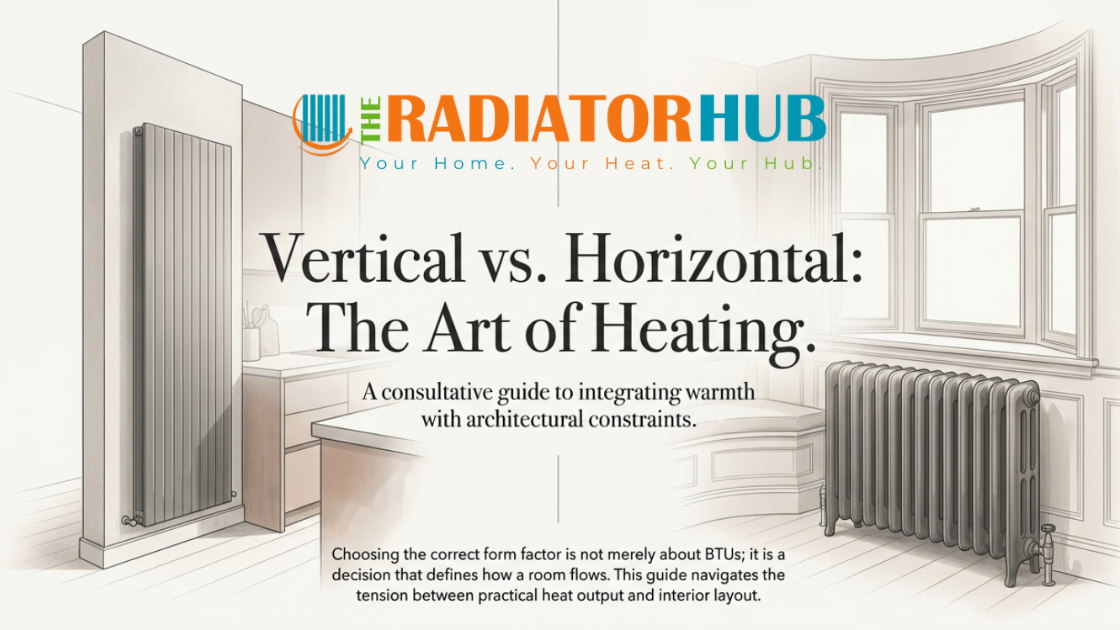
A vertical radiator can be useful where wall width is limited, but its height, depth and heat output still need to suit the room.

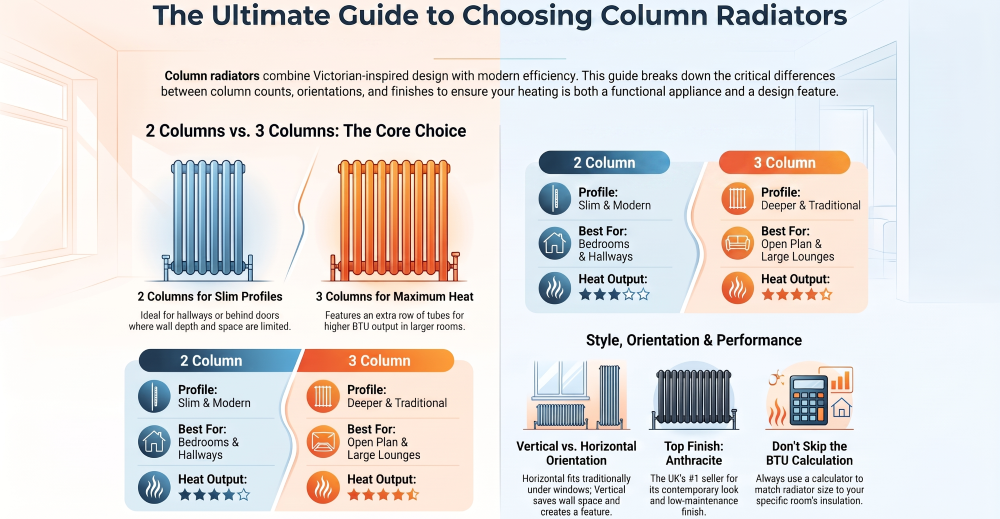
Column radiators are available in different column configurations, including 2-column and 3-column designs, with different sizes and outputs. Always check the individual product specifications rather than assuming two radiators of the same dimensions will produce the same amount of heat.

Winter radiator maintenance checklist for UK homes

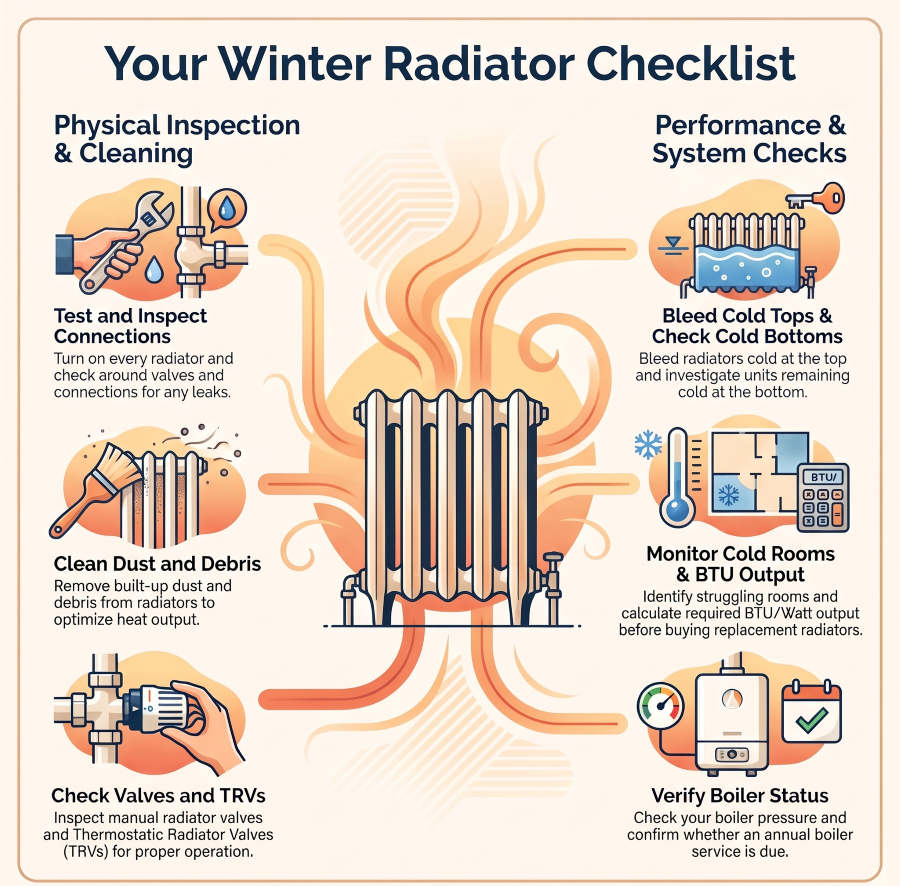
Your Winter Radiator Checklist

Before winter properly arrives, have you:

  • Tested every radiator?
  • Checked for leaks around valves and connections?
  • Removed dust and debris?
  • Checked your radiator valves and TRVs?
  • Bled radiators that are cold at the top?
  • Checked your boiler pressure where appropriate?
  • Investigated radiators that are cold at the bottom?
  • Identified rooms that struggled to stay warm?
  • Calculated the required BTU/Watt output before replacing a radiator?
  • Checked whether your boiler service is due?

If you can tick these off, you should have a much better idea of whether your current radiators are ready for the colder months.

When Should You Replace a Radiator?

Not every older radiator needs replacing simply because it looks dated.

However, replacement may be worth considering if a radiator is:

  • Heavily corroded
  • Leaking
  • Damaged
  • Repeatedly developing cold spots
  • Difficult to control
  • Unable to provide enough heat for the room

A replacement can also give you an opportunity to change the radiator’s size, orientation or appearance.

For example, a vertical radiator may work better where horizontal wall space is limited, while a column radiator can suit homes where a more traditional style is preferred.

Before ordering, check the radiator’s dimensions, heat output, pipe centres, depth and installation requirements.

Frequently Asked Questions

How do I prepare my radiators for winter?

Turn the heating on and test every radiator. Look for cold spots, unusual noises, and leaks; clean away dust, check the valves, bleed radiators that are cold at the top, and check your heating system pressure where appropriate.

Only if there are signs of trapped air, such as a radiator being cold or noticeably cooler at the top while the lower section is warmer. If a radiator is heating evenly, there is generally no need to bleed it simply because winter is approaching.

A cold top section with a warmer lower section can indicate trapped air inside the radiator. Bleeding the radiator may help release the trapped air.

A cold bottom section can sometimes be caused by sludge or debris restricting circulation. Bleeding the radiator is unlikely to solve this type of problem, so the system may need further investigation.

Possible causes include a radiator valve that is not opening correctly, trapped air or restricted circulation. Check the valve and radiator, and arrange professional advice if the problem continues.

Gurgling can be associated with trapped air, while banging or rumbling noises can have several possible causes. If unusual noises continue after basic checks, have the heating system assessed.

Bleeding releases air from the radiator and can result in a small change in system pressure. Check your boiler manufacturer’s instructions and repressurise the system if required. If the pressure continues to fall, the cause should be investigated.

Radiator size should not be based on dimensions alone. Start by calculating the room’s approximate heat requirement in BTUs or Watts, then choose a radiator that provides the required output. You should also check the available space and pipework connections before ordering.

Yes. A vertical radiator can provide the required heat as long as its stated output is suitable for the room and the heating system. Always calculate the required output rather than choosing a radiator based on height or appearance alone.

Final Thoughts

A little preparation before winter can help you spot heating problems early, rather than discovering them when you need the heating most.
Check the radiators you already have, deal with obvious problems early, and work out whether any rooms need more heat output.
If you do need a replacement radiator, start with the heat requirement and the space available. Then check the radiator’s dimensions, pipe connections, and output before choosing a style and finish.
That way, you can choose a radiator that suits the space while providing the heat the room actually needs.

Leave a Reply

Your email address will not be published. Required fields are marked *